Dimensioning cameras (CubeTrue): mounting, measurement zones and calibration
A depth camera over the packing bench or receiving dock measures cartons and pallets in about a second — dimensions, volume and weight evidence for rating and billing. This chapter covers where to mount it, how to mark the measurement zone, how to connect it in Device Hub, and how calibration keeps the numbers trustworthy.
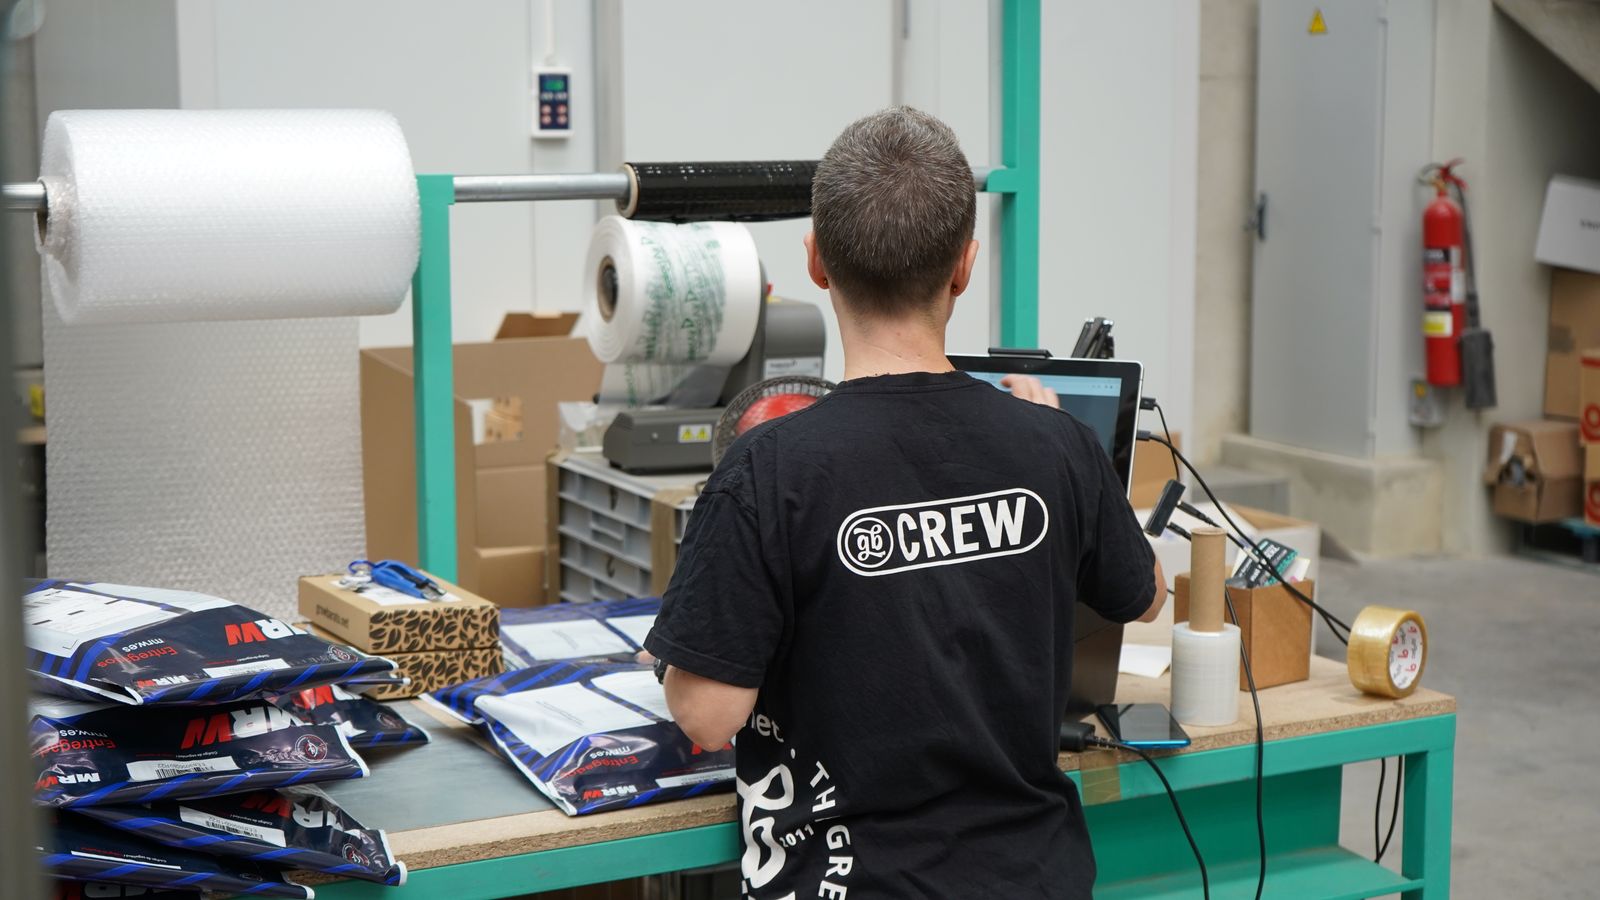
A dimensioning station is a depth camera plus a scale on a workstation PC running Device Hub. It measures the outer dimensions of a carton or a whole pallet, computes the billing volume, and stores the result with a photo as evidence. When a carrier later re-classes a shipment, this record is your proof. The camera never guesses: if the view is bad it refuses to report a number instead of inventing one.
What you need#
- Depth camera: Orbbec Gemini 335L or Intel RealSense D455 (stereo depth). One per station.
- A bench or floor scale connected to the same PC (weight is captured with the same measurement).
- A rigid calibration block of known size — a 300 mm cube or any box measured precisely on all three sides.
- A firm overhead mount (gantry, shelf or ceiling arm) that cannot be knocked out of alignment, plus a USB cable to the PC.
Mounting: packing bench#
Mount the camera directly above the sealing spot, lens pointing straight down. Leave clearance for your tallest carton plus at least 30 cm above it. The camera must see the whole top face of the carton and the bench area around it — if hands or a tape gun cross the view at measure time, the station will refuse, so measure after sealing, before labelling. Fix the mount so daily bumps cannot shift it: any shift invalidates calibration until you recalibrate.
Mounting: receiving dock (pallets)#
For pallets, mount the camera 3.0–3.5 m above the floor over a marked measurement zone. The forklift sets the pallet inside the lines and fully leaves the frame before measuring. Ceiling height or a gantry both work; what matters is a straight-down view of the whole pallet footprint with margin on all sides.
Marking the measurement zone#
- Tape or paint a rectangle sized to your pallet footprint (for example 1200×1000 mm) plus about 15 cm margin per side.
- Keep the zone empty: no stored cartons, no shrink-wrap rolls, no parked pallet jacks inside the lines.
- Avoid direct sunlight and strong reflections on the floor — depth cameras struggle with glare and with fully transparent or glossy black surfaces. For such goods, measure on a plain mat or slip sheet.
Connecting it in Device Hub#
The camera plugs into the workstation PC by USB. The dimensioning adapter runs inside Device Hub on that PC: register the device in the IoT registry as a depth dimensioner, enable the station in the Hub configuration, and store the device token on the PC only (it is never shown again in the cloud). If the network drops, the Hub keeps measuring and queues the records — they upload automatically when the connection returns, marked as delayed.
Calibration: the block ritual#
- Place the calibration block in the centre of the measurement zone, empty zone otherwise.
- In Device Hub, start the local Calibrate action for the dimensioning station and enter the block’s exact dimensions (e.g. 300 × 300 × 300 mm).
- The system solves a scale correction from the block and reports the residual error. Within tolerance, the station is valid for 90 days.
- Recalibrate after any camera move, mount change or impact — and whenever the weekly drift check (next section) fails.
Weekly drift check#
Once a week, put the calibration block back in the zone and run the drift check in Device Hub (check-only: it does not change calibration). If the corrected error exceeds the tolerance, the station is marked drifted: new measurements are downgraded to reference-only and must not be used for billing or receiving decisions until you recalibrate. Calibration also expires after 90 days — the station warns you ahead of time, and expired measurements are downgraded the same way.
When it refuses to measure#
- “Fragmented returns” — reflections are breaking the view. Move glossy or transparent goods, or measure on a plain mat.
- “Too few points” or “nothing in the zone” — the goods are outside the marked zone, or the surface is fully black/transparent. Centre the goods inside the lines.
- “Low confidence” — wipe the lens with a soft cloth, clear the zone, and measure again. If it keeps refusing after a mount bump, recalibrate.
- Numbers look off — first check the drift status, then whether the mount moved. Never “fix” numbers by hand-editing master data from a drifted station.