Packing bench cameras for PackVision: what to buy and how to mount one overhead
PackVision records video of every order you pack — but only if the bench has a camera that can actually prove what happened. This guide gives you the buying checklist, a coverage table for mounting height, three mounting setups with step-by-step diagrams, and how to turn recording on in Device Hub.
When a customer says an item was missing or the wrong thing went into the box, your strongest answer is video: the whole packing of that order, from the first scan to the sealed carton. In Docklify that video feature is called PackVision. The recording itself is captured by Device Hub, the local device app running on the packing bench computer — the camera plugs into that setup, not into the web page. This guide is the hardware half of PackVision: how to choose a camera that produces usable evidence, how to mount it over the bench, and how to switch recording on.
Two nearby guides cover the rest of the bench. “What a standard packing station looks like: kit list and layout” covers the bench itself — scanner, printer, scale and layout. “Packing photo stations: photograph every parcel before it leaves” covers the simpler still-photo version of the same idea. This guide assumes your bench is already set up, and adds the one piece those two do not cover: a fixed camera, looking down, recording video you can find again by order number.
What to buy: five checks before you pay#
You do not need an expensive camera. You need one that connects the standard way, stays where you point it, and holds its focus. Check these five points, in this order — the first one rules out more cameras than all the others together.
- Interface — pick one of two. USB models must be UVC and driver-free: if the box says it needs the maker’s own app or driver to show a picture, skip it. Network models must speak standard RTSP, ideally with ONVIF, so Device Hub can add them directly. App-only cloud cameras, fisheye cameras and tiny “mini” cameras do not work here — they cannot hand a standard video stream to Device Hub.
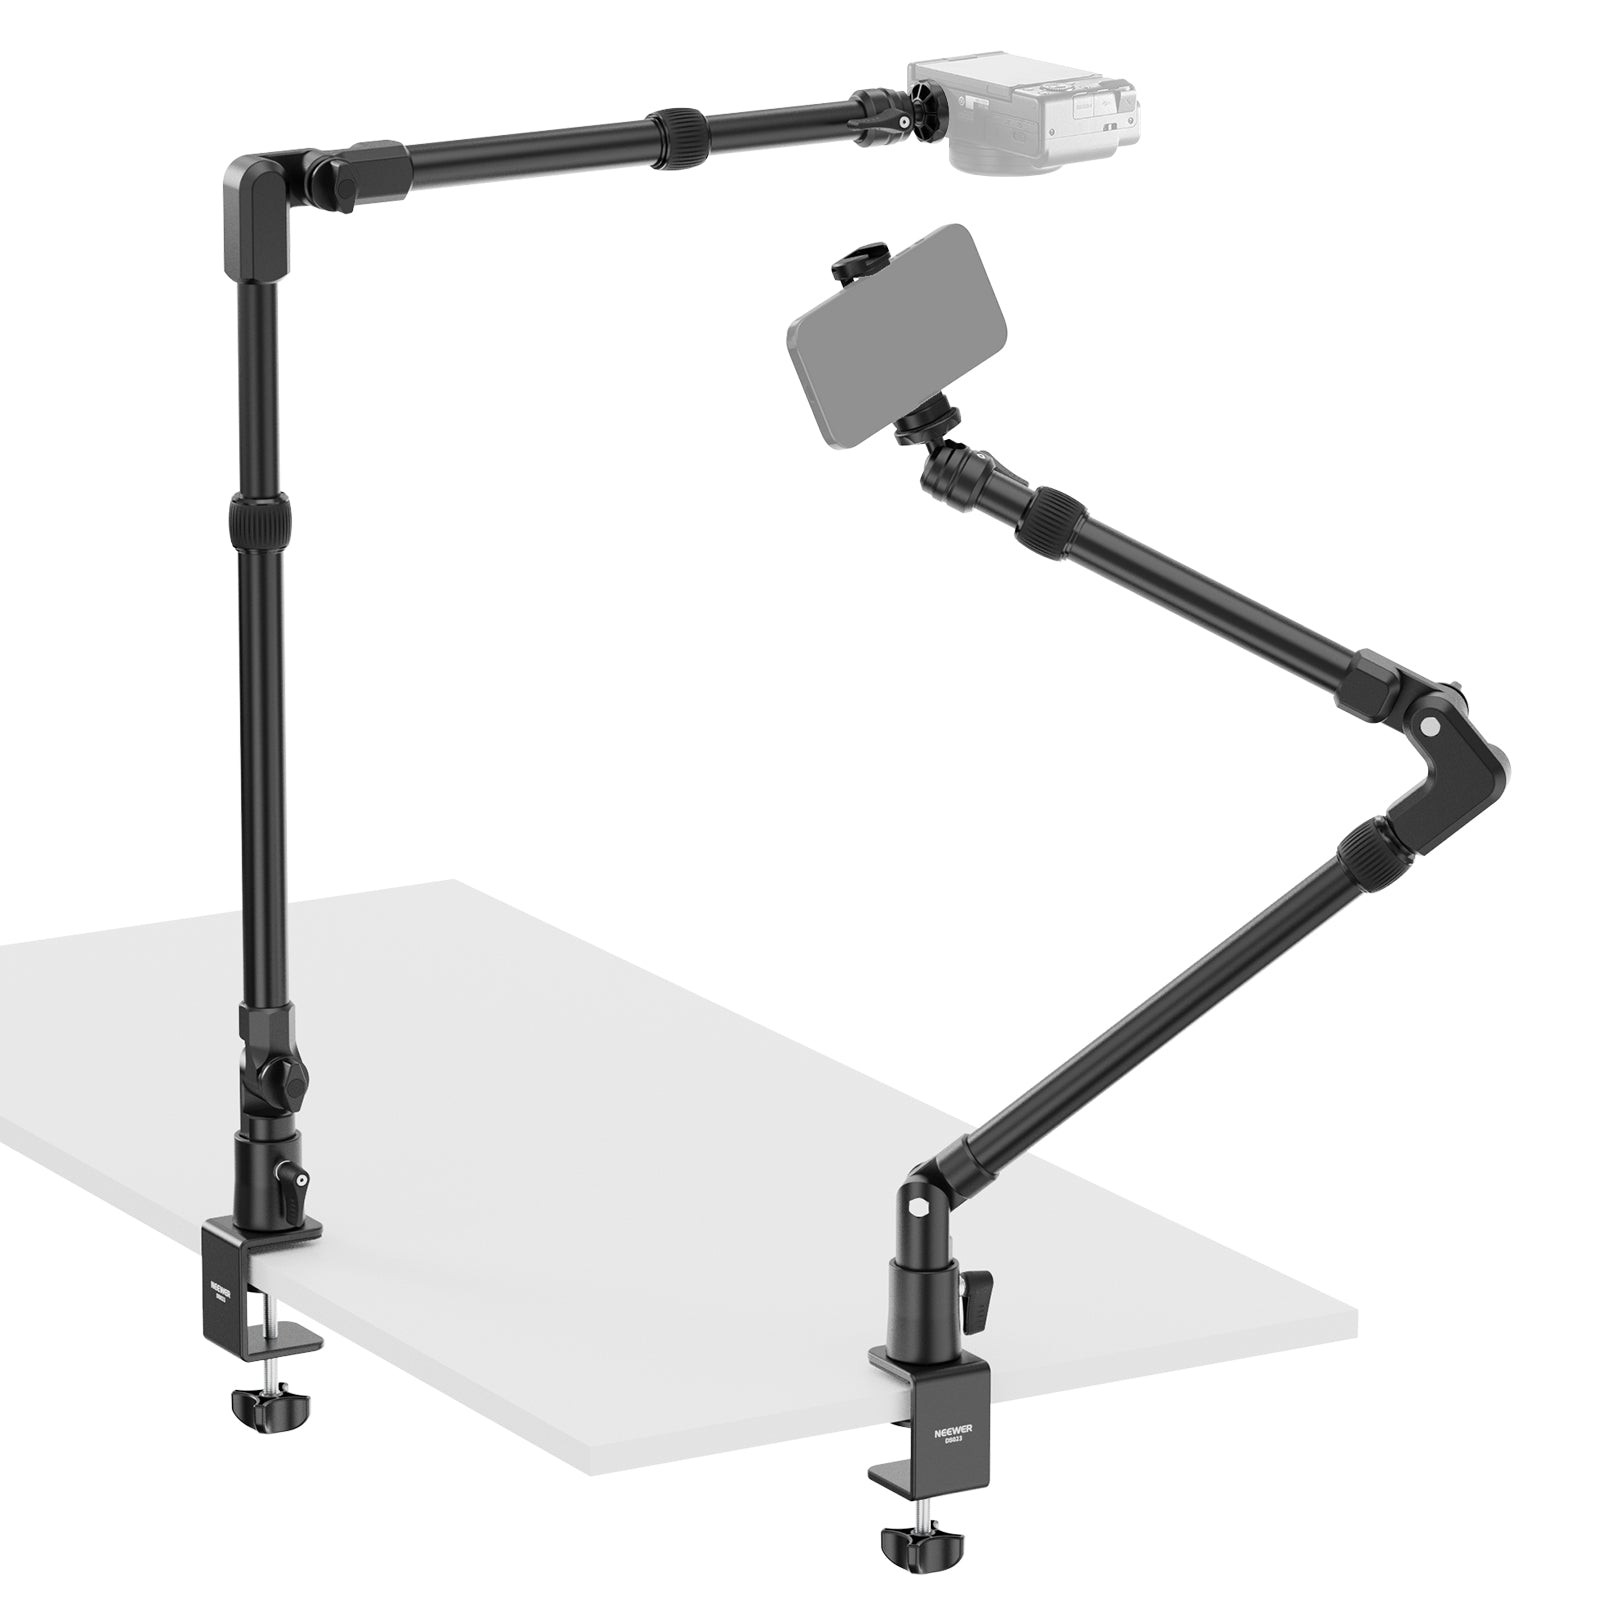
- A real 1/4-inch tripod thread. The camera must have the standard 1/4-inch screw mount, so it can be screwed onto an overhead arm or a bracket and stay put. A camera that only has a monitor clip — the kind that just pinches the top of a screen — cannot be mounted on an overhead arm; keep that type for the simple monitor setup in Scenario 2 below, not for the main overhead mount.
- Focus you can fix or lock. Pick a fixed-focus model, or one whose focus you can set once and lock. A camera that keeps auto-focusing will hunt back and forth over a busy bench — hands moving, boxes changing — and your evidence frames end up blurred exactly when they matter.
- Resolution: 1080p is enough for the whole bench. An overhead 1080p view recognises events clearly — what went into the box, how many pieces, who packed it. Reading the small text on a tiny label takes more: move the camera closer, or step up to 4K. Serial numbers are not the camera’s job — in the packing flow they are captured by the scanner, so do not buy resolution trying to make the camera read them.
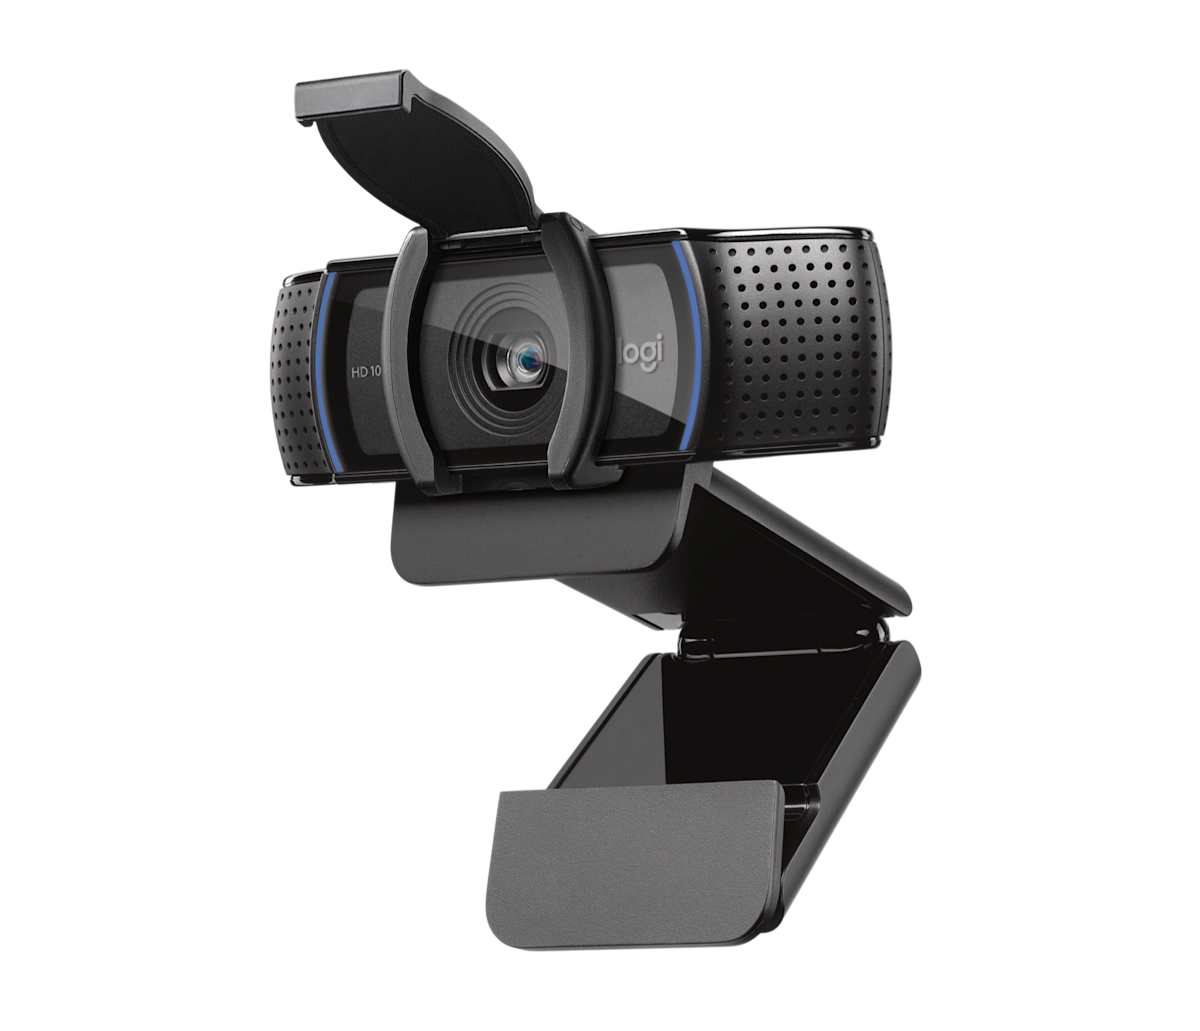
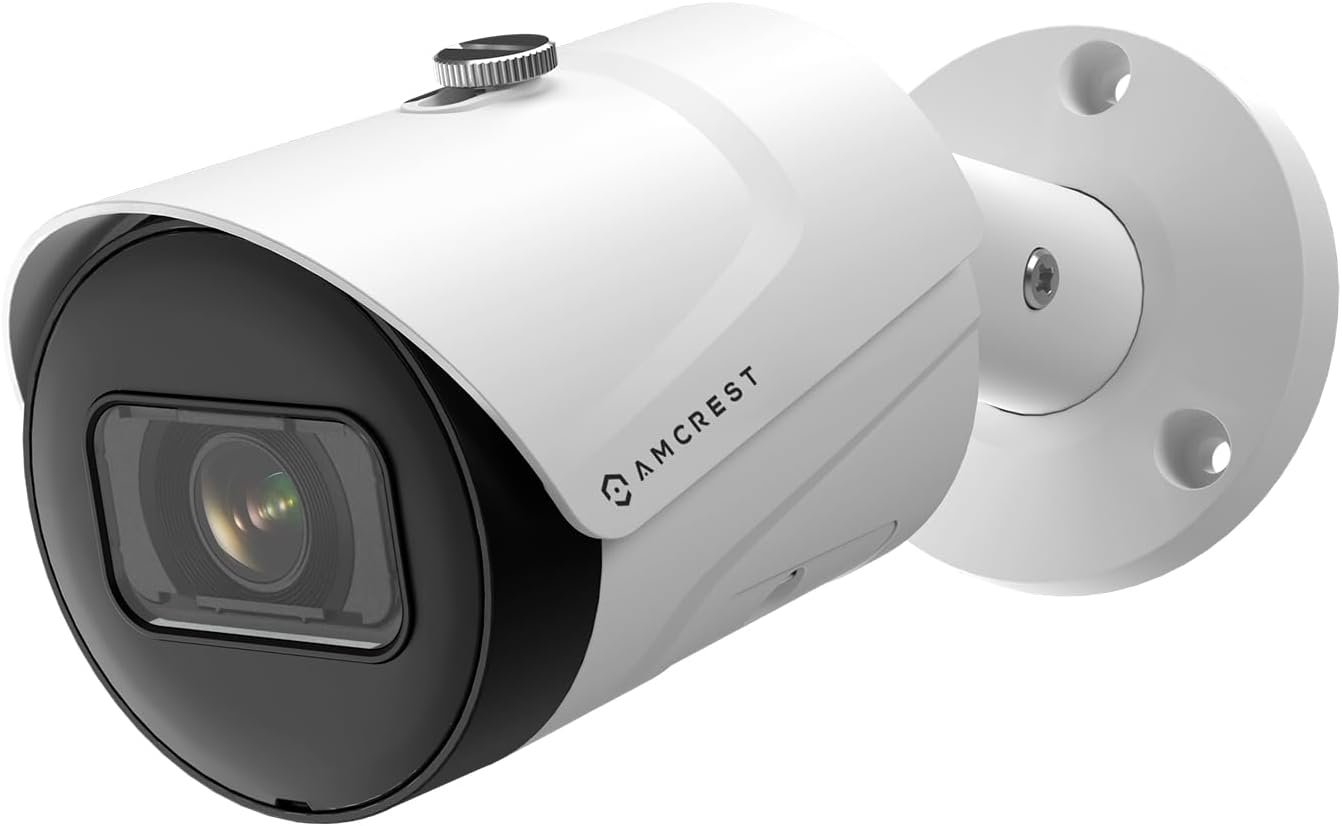
- Buy by class, not by link. A safe reference point is “a UVC webcam in the Logitech C920S class” for USB, or a standard PoE bullet camera with RTSP/ONVIF for the fixed warehouse setup. Prices move and models change, so treat any price as “check the retailer’s page” — what matters is that the model you pick passes the four checks above.
How much bench does one camera cover?#
Coverage is simple geometry: the higher the camera and the wider its field of view, the more bench it sees. As a rough estimate, the covered width is about twice the mounting height multiplied by the tangent of half the viewing angle — a 78° camera covers roughly 1.6 times its height, a 90° camera roughly 2.0 times. The table below uses the diagonal field of view, so treat every number as an approximation.
| Mounting height above the bench | 78° camera covers about | 90° camera covers about |
|---|---|---|
| 0.5 m | 0.8 m wide | 1.0 m wide |
| 0.6 m | 1.0 m wide | 1.2 m wide |
| 0.8 m | 1.3 m wide | 1.6 m wide |
| 1.0 m | 1.6 m wide | 2.0 m wide |
Use the table to pick a height, then judge by the real picture: what counts is the live preview in Device Hub, not the table. If the edges of your packing area fall outside the frame at a comfortable height, raise the mount before you blame the camera — and if you cannot raise it, a 90° model buys you width without height.
Three ways to mount it#
Pick the setup that matches your bench. Scenario 1 — a desktop overhead arm — is the main setup and the one most benches should use: closest view, easiest to adjust. Scenario 2 is the quick start on a monitor or a small stand. Scenario 3 is the fixed install for warehouses that wire a bench once and never touch it again. In all three, the camera ends up fixed, looking down at the packing surface, connected to the computer that runs Device Hub.
Scenario 1: desktop overhead arm (the main setup)
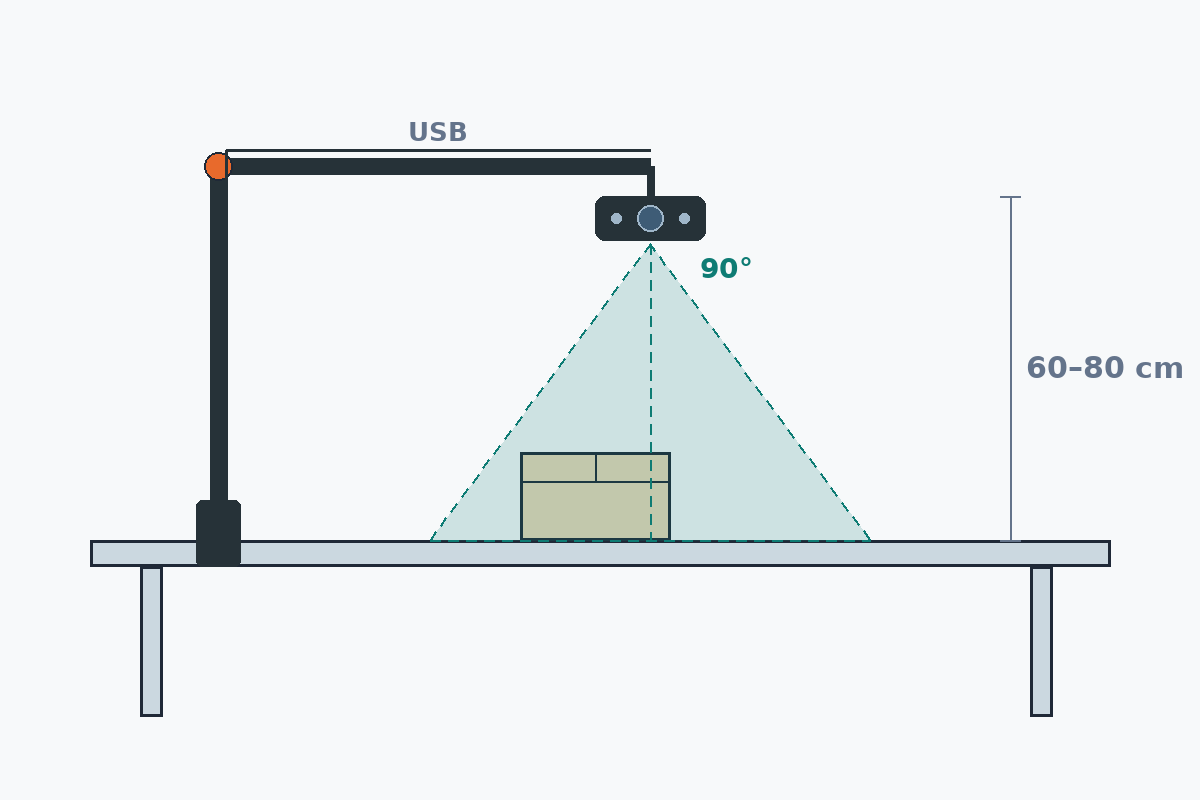
- Mount the arm. Clamp or screw the desktop overhead arm to the back edge of the bench, so its head reaches over the middle of the packing surface at roughly the height you picked from the coverage table.
- Put the camera on the arm. Screw the camera onto the arm’s 1/4-inch thread and tighten it fully — a camera that slowly droops or twists ruins a week of video before anyone notices.
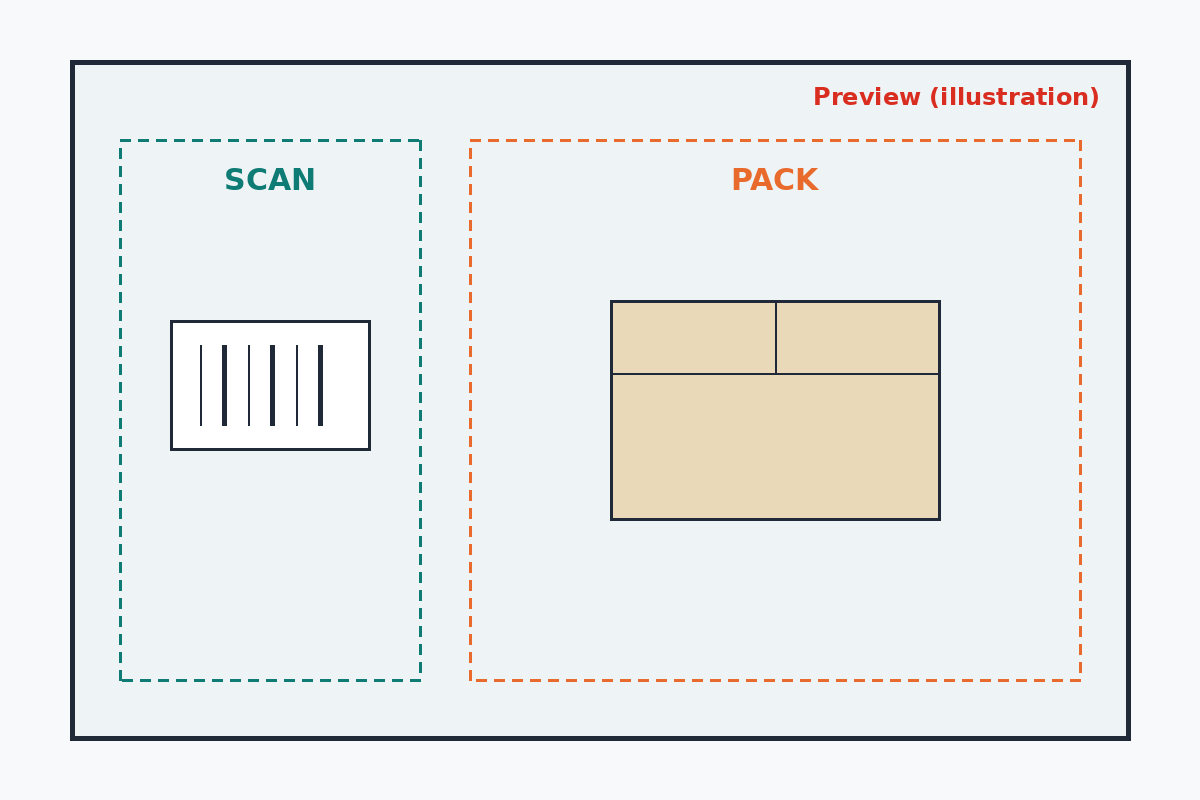
- Aim it straight down. Point the lens vertically down at the bench, centred so the frame covers both the scanning zone — where each item is scanned — and the packing zone where the open box sits. Both zones in one frame is what makes the video usable evidence.
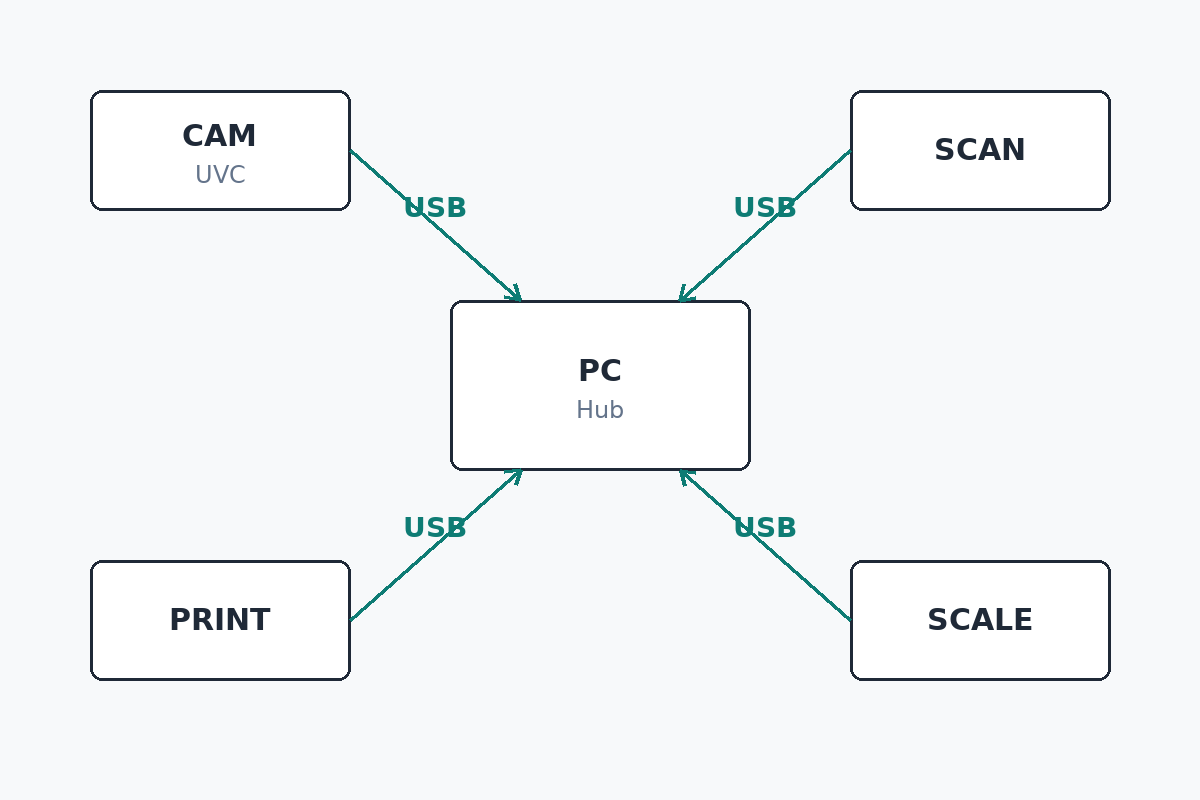
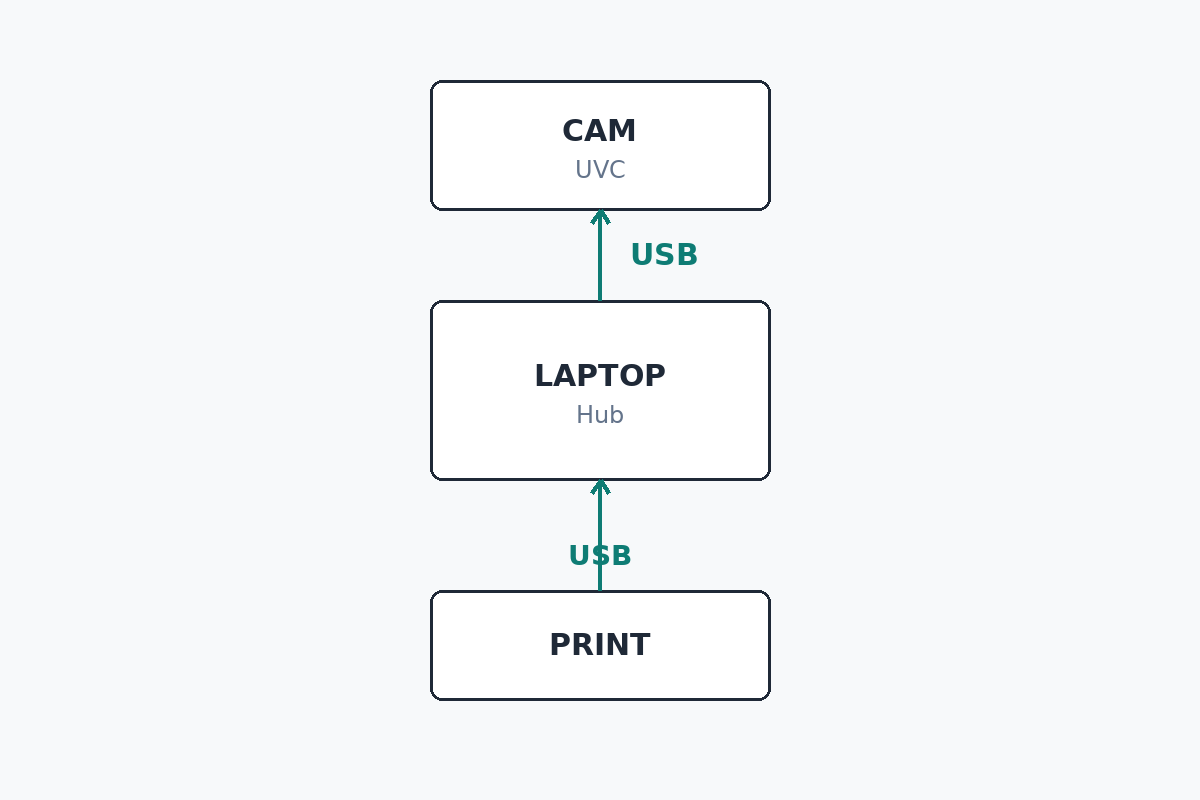
- Connect the USB cable. Plug the camera straight into the computer that runs Device Hub. If the cable does not reach, keep the run as short as you can and use an active (powered) extension: long passive extension cables drop power and signal, and the camera cuts out mid-shift.
Scenario 2: the simple monitor setup
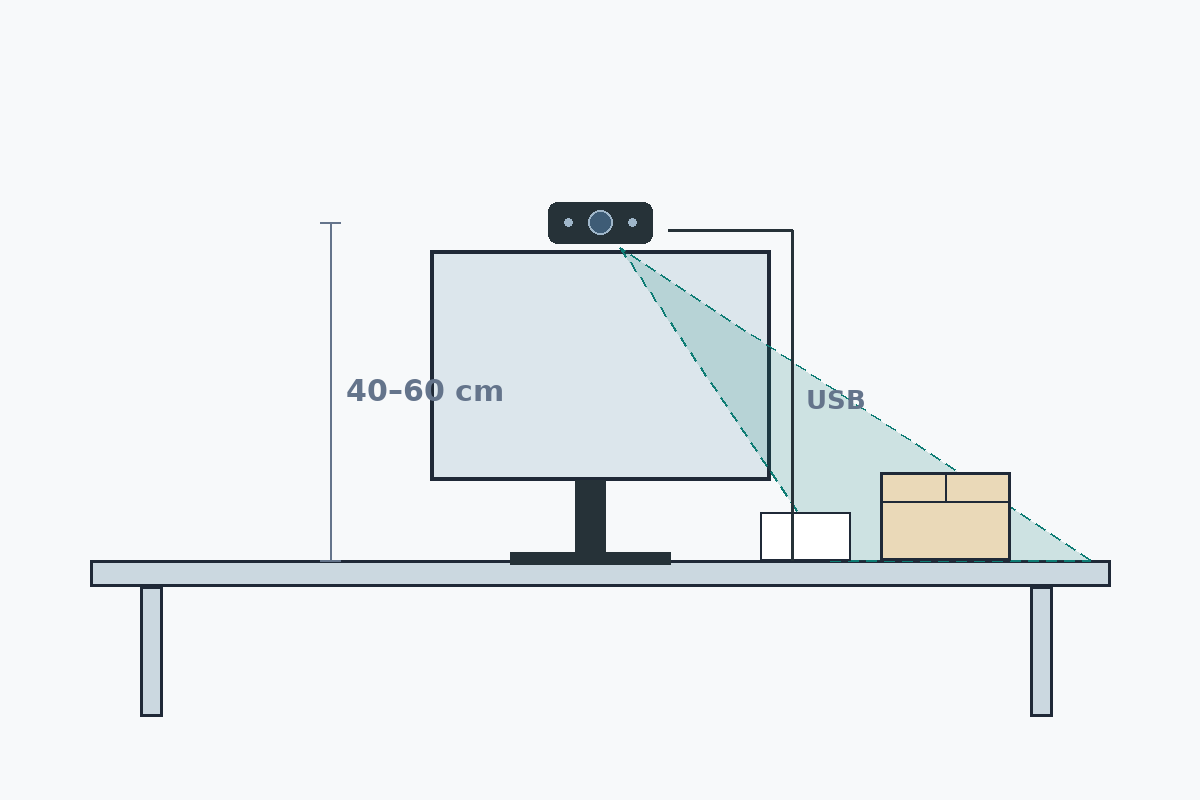
No arm yet, or only one small bench? Start simple: a clip-on webcam on the monitor can already record a useful angle, as long as you accept that it sees the packing corner at a slant rather than straight down.
- Clip the camera onto the top edge of the monitor, or set it on a small desk stand beside the bench — whichever puts it highest and steadiest, looking at the packing corner.
- Tilt it down at the packing corner. Angle the camera so the open box, the items going in and the label area are all in frame; this slanted view is the compromise of the simple setup, so get the box fully inside the picture.
- Plug the USB cable straight into the bench computer that runs Device Hub — same rule as Scenario 1, no long passive extensions.
Scenario 3: fixed warehouse position (network camera)
For a bench that never moves, a wired network camera is the tidiest option: no USB cable across the bench, and the camera stays exactly where the installer left it.
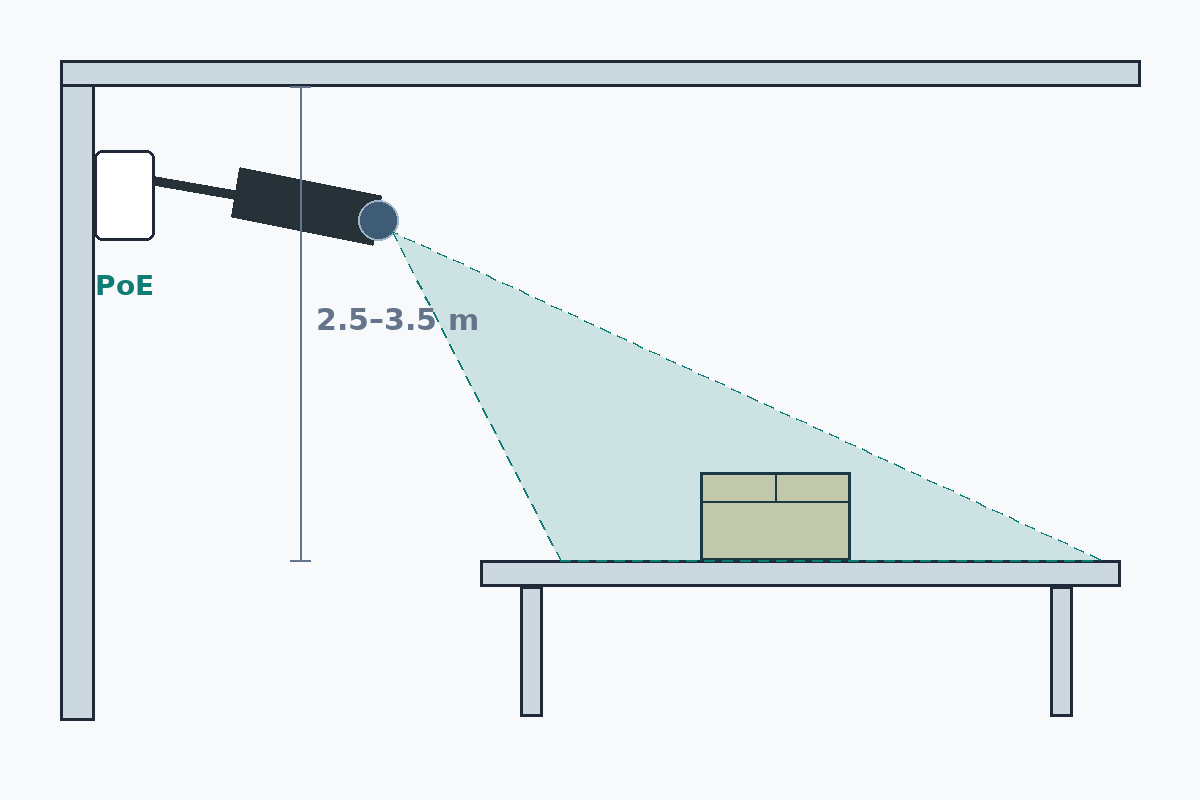
- Mount the camera on the wall or ceiling above the bench, aimed down at the packing surface — use the coverage table to pick the height, and fix it so daily knocks cannot move it.
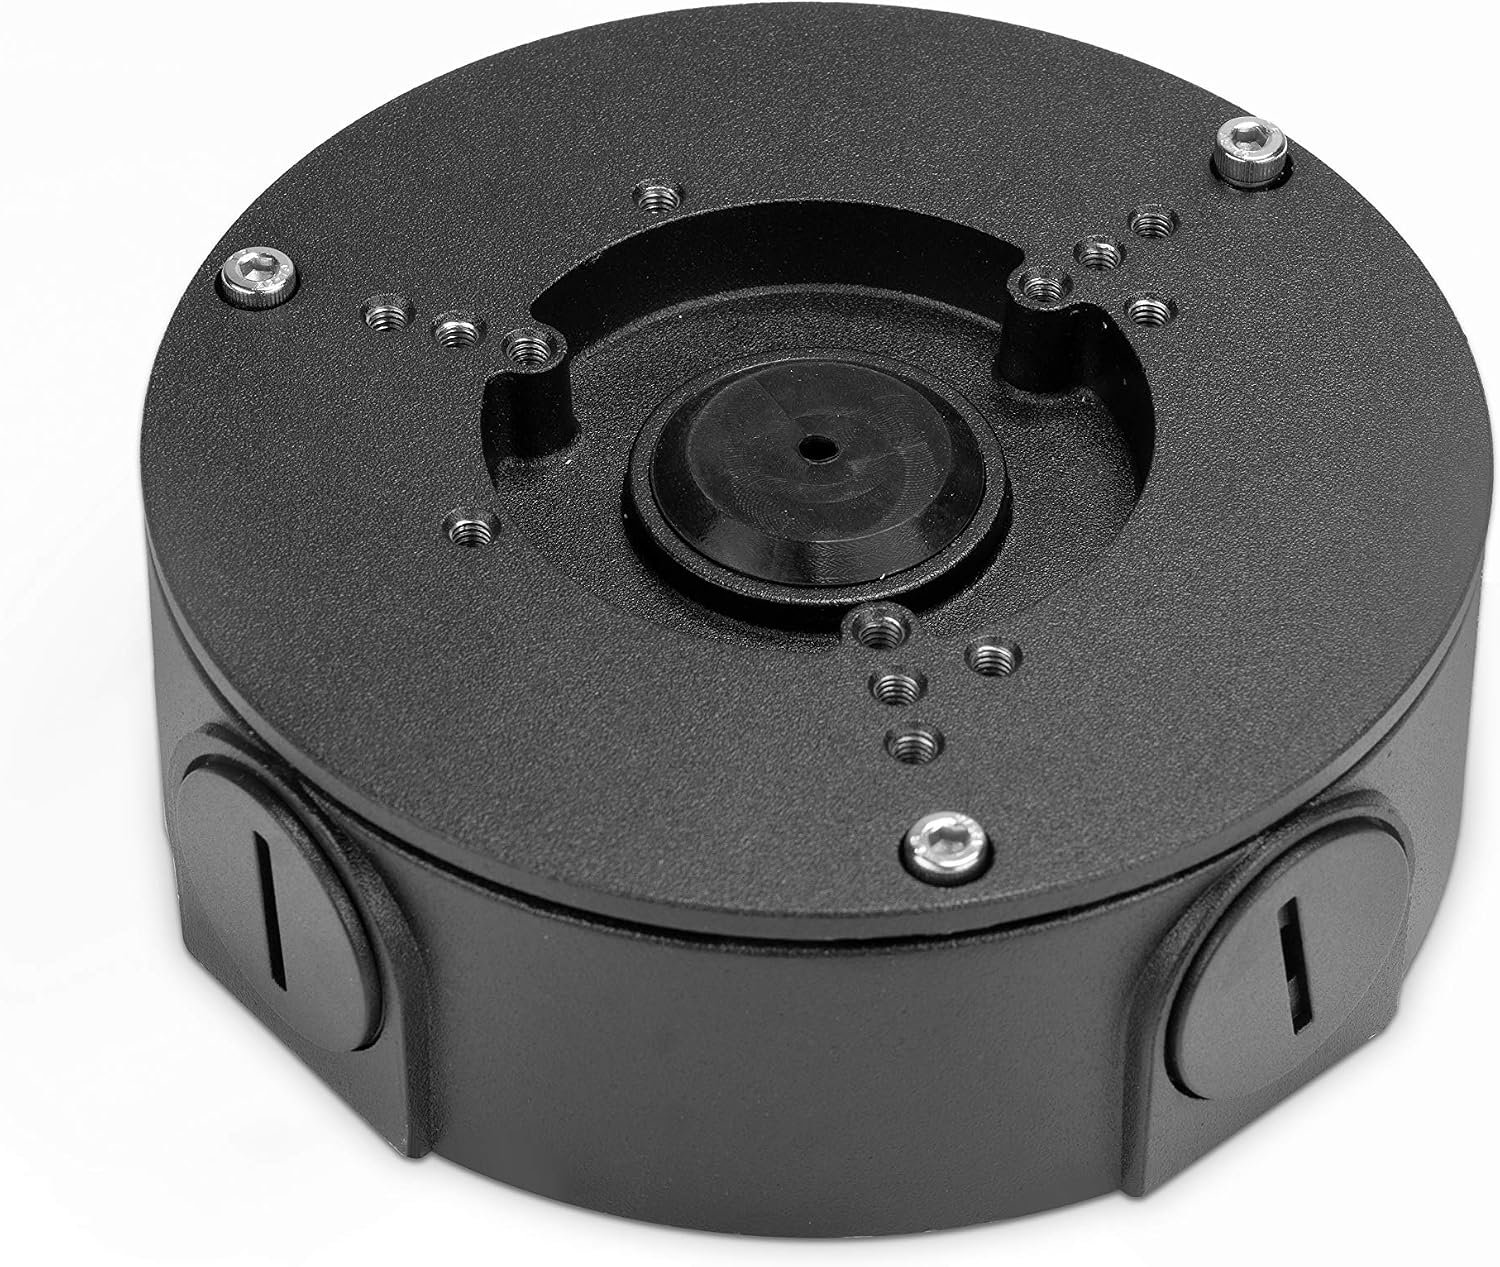
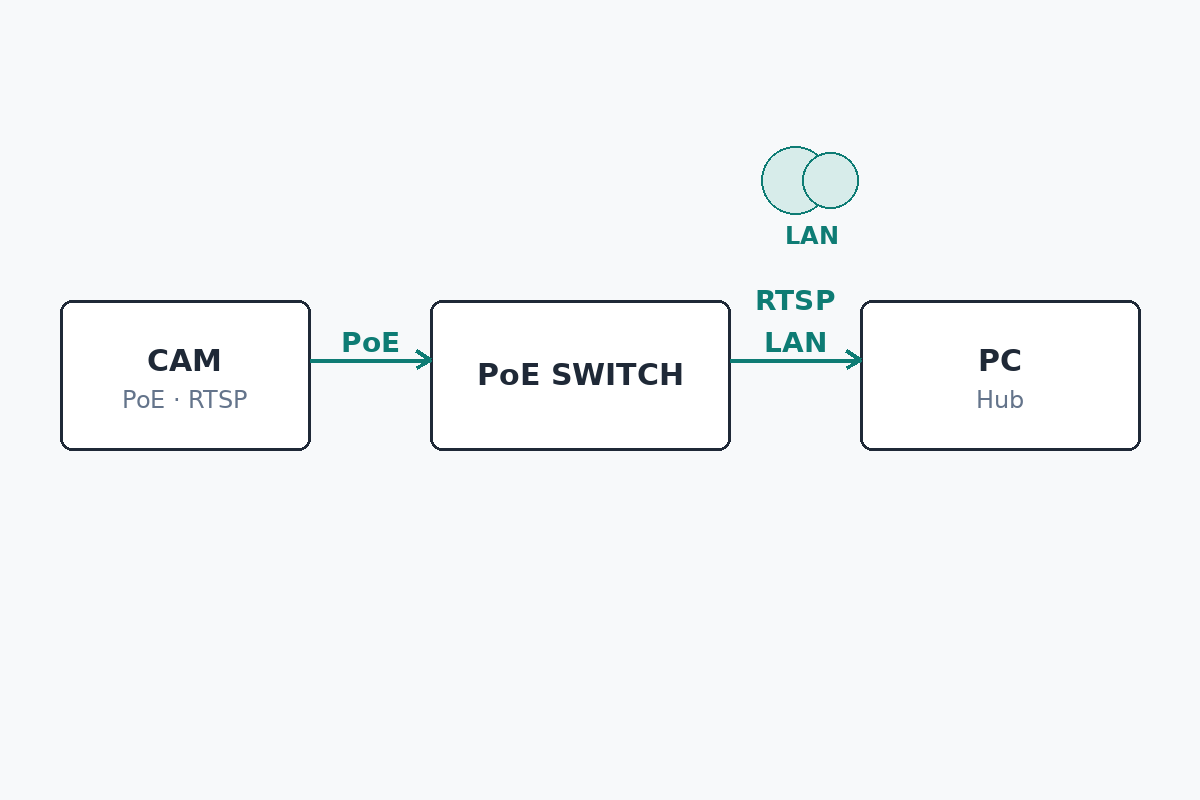
- Wire it with PoE. Run one network cable from the camera to a PoE switch — the same cable carries power and video. Tuck ceiling or wall joints into a junction box so the install stays tidy and dry.
- Put it on the same network. The PoE switch must sit on the same local network as the computer running Device Hub — if the Hub computer cannot reach the camera’s address, nothing records.
- Add it in Device Hub by RTSP. Open the Camera section in Device Hub, add the camera using its RTSP address, and type the camera’s username and password into Device Hub on that computer. Those credentials live in the Hub on the local machine only — never write them into help pages, shared notes or chat messages.
Turn recording on in Device Hub#
One point to get right before the steps: the recording switch lives only in Device Hub, on the bench computer. There is no recording switch on the web pages — not in PackVision, not in the Packing Station. If you cannot find a switch on the website, that is expected; walk to the bench computer and open Device Hub.
- Open Device Hub on the computer at the packing bench — the same computer your printer and scale already use. At the top of the window you will see the brand bar and, right under it, the pairing-code strip; the devices live in collapsible sections below.
- Expand the Camera section — the sections start collapsed, so click its header to open it — and turn on the local “Packing video” switch. This is the one and only place where recording is switched on or off. The section’s “Add device” button opens these same video-source settings: choose the source type there (USB camera or RTSP) and fill in the credentials if it asks.
- Allow the camera permission — once. The first time, the system asks whether Device Hub may use the camera. Click Allow. You only do this once; if the prompt keeps coming back, see the questions below instead of clicking again and again.
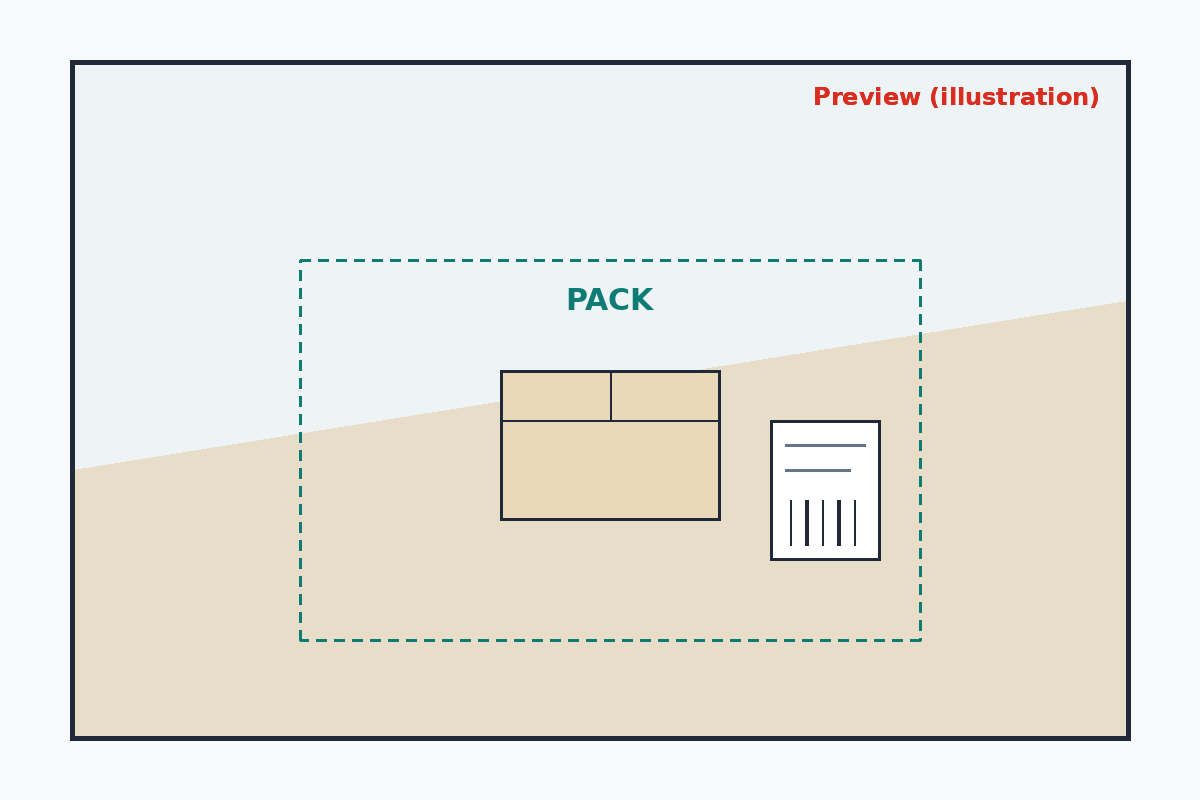
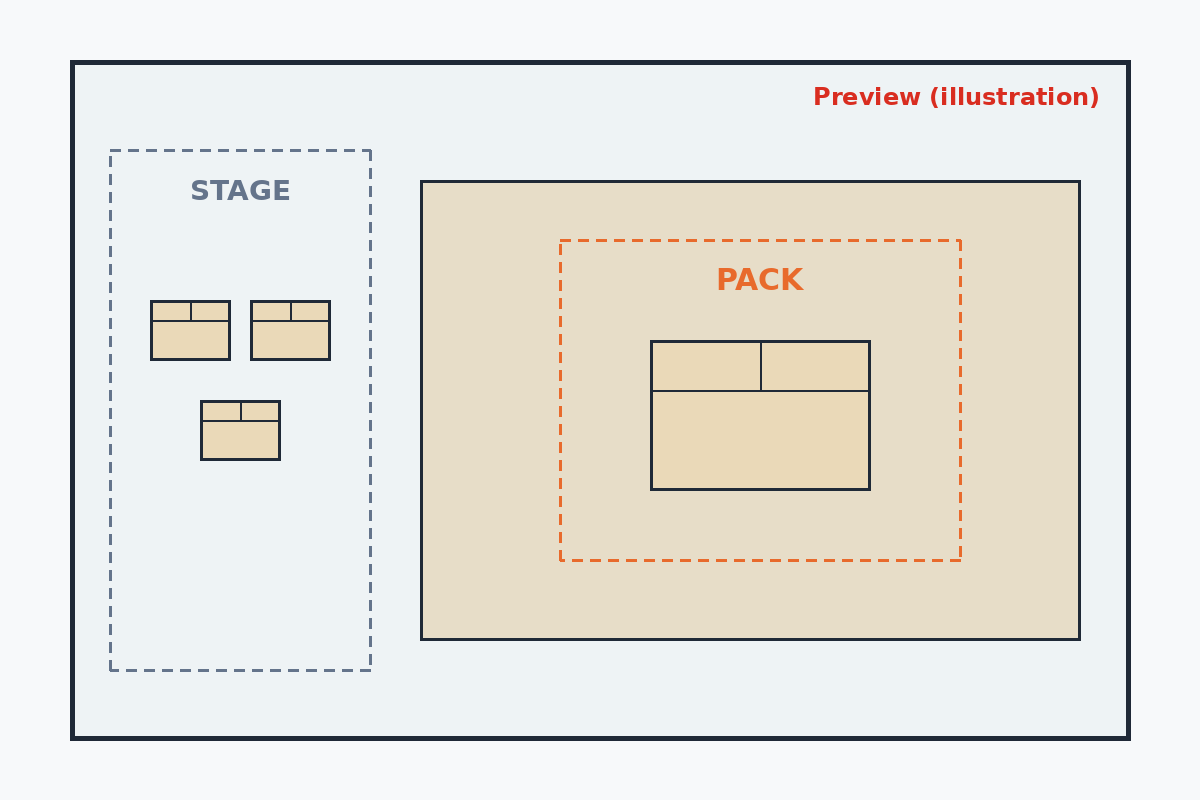
- Check the live preview. In the Camera section, open the camera preview and look at the real frame: the open box, the shipping label area and the scanning zone must all be inside the picture. Adjust the camera now, while you are looking at it — not after the first dispute.
- Prove it with one order. Pack a normal order, then go to PackVision on the web and search for that order number. If the video is there and plays, the bench is live. If not, work through the questions below before packing the next order.
Real-photo placeholder: a real frame captured by an actual bench camera will be added here once the test camera is set up. The diagrams above are schematic; this spot is reserved for a genuine photo from a working bench, not a stock image.
Common problems#
The camera permission prompt keeps popping up
It usually means the permission was denied once, so the system asks again every time. Do not keep clicking: open your computer’s system settings, find the camera privacy settings, and make sure Device Hub is allowed there. Then restart Device Hub. One “allow” in the system settings ends the loop; repeated clicks on the prompt do not.
The picture is blurry, or keeps refocusing
Check focus first: if the camera has a focus lock or a manual focus setting, set the focus on the bench surface and lock it there. If it keeps hunting, the model is fighting the job — a fixed-focus model will serve you better. Then check the light: video needs a bright bench. Add a bench light over the packing surface and avoid a window behind the bench, because backlight turns goods into dark shapes and washes the label out.
Recording stops, or a video cannot be found
Check the disk first. Video files are big, and recording stops quietly when the drive that stores them fills up: look at the free space on the bench computer and on the drive Device Hub records to, and clear space or move the storage folder before anything else. Then check Device Hub itself: is it still running, is the “Packing video” switch still on, and is the camera still connected (USB plug, or network camera reachable)? Work in that order — disk, Hub, camera — and most cases close at the first step.
On a Mac: Hub says recording, but there is no picture and the camera light stays off
On macOS this is almost always the camera permission, not the camera. Device Hub now checks the permission before it starts recording and shows what it found: if it says the camera permission is not granted, or that it has received no picture at all, follow the note it shows — open “System Settings → Privacy & Security → Camera”, switch Docklify Device Hub off and back on (this makes macOS re-confirm the permission for the current version of the app), then switch “Packing video” off and back on in Device Hub. If it still does not record, restart Device Hub once and check again. The switch in System Settings can look “on” while the permission no longer matches the installed version after an update; toggling it off and on is what repairs that. If Docklify Device Hub does not appear in that Camera list at all, fully quit Device Hub, open it again, and click “Request camera access” in the Packing video section — that makes Device Hub itself ask the system, and the system prompt should appear.
The frame does not cover the whole bench
Go back to the coverage table. Raise the camera one step — from 0.6 m to 0.8 m, say — and the covered width grows with it. If the bench layout leaves no room to go higher, switch to a 90° model, which covers about 2.0 times its height instead of 1.6. After any change, confirm in the Device Hub preview that the box, the label area and the scanning zone are all back inside the frame.
That is the whole job: a standard camera, fixed where it can see the box and the label, switched on once in Device Hub, and checked once in the preview. Do those four things and the next time a customer disputes what went into a parcel, you will not be arguing from memory — you will be watching the packing together.